TL;DR: Tree identification by photo succeeds when you photograph the right features at the right distance: a full leaf with margin and petiole visible, bark texture at chest height, and mature fruit or seed pods when available. Use soft daylight, fill the frame, avoid blur, and submit one to three sharp images to an app like Tree Identifier. Picture tree identification is not guesswork — it is a repeatable workflow of angles, lighting, and trait priority.
📸 The fastest tree id by photo rule: one sharp leaf photo beats three blurry whole-tree shots. Fill the frame with the feature that differs most between candidates — margin shape, bark plates, or seed pod form.
Why tree identification by photo works
Every year millions of people search identify tree from photo because smartphones put a capable camera in every pocket and machine-learning models now recognize thousands of species from images alone. You do not need to collect specimens or memorize entire field guides — you need to capture the visual traits that separate one species from its neighbors.
Picture tree identification leverages the same features botanists use in the field: leaf arrangement and shape, bark texture, fruit and flower structure, bud form, and overall growth habit. A photo preserves those traits for instant comparison against training databases. The limitation is not the technology — it is usually the photograph. Blurry, distant, or poorly lit images force any app to guess.
This guide teaches the photography side of tree identification by photo so your results match what you see on the trail or in your backyard. Whether you use Tree Identifier or another tool, the framing principles are identical.
What to photograph first — trait priority
Not every tree part carries equal ID weight. Rank your subjects in this order when you want to identify tree by image:
- Leaves (in season): The default first photo. Capture the full blade, petiole attachment, and — if possible — the twig showing whether leaves are opposite or alternate. See Identify Trees by Leaf for margin and venation details.
- Fruit, cones, or seed pods: Often decisive when leaves are absent or generic. Tree seed pod identification pictures of acorns, samaras, pine cones, or sweetgum balls can name a species from one frame.
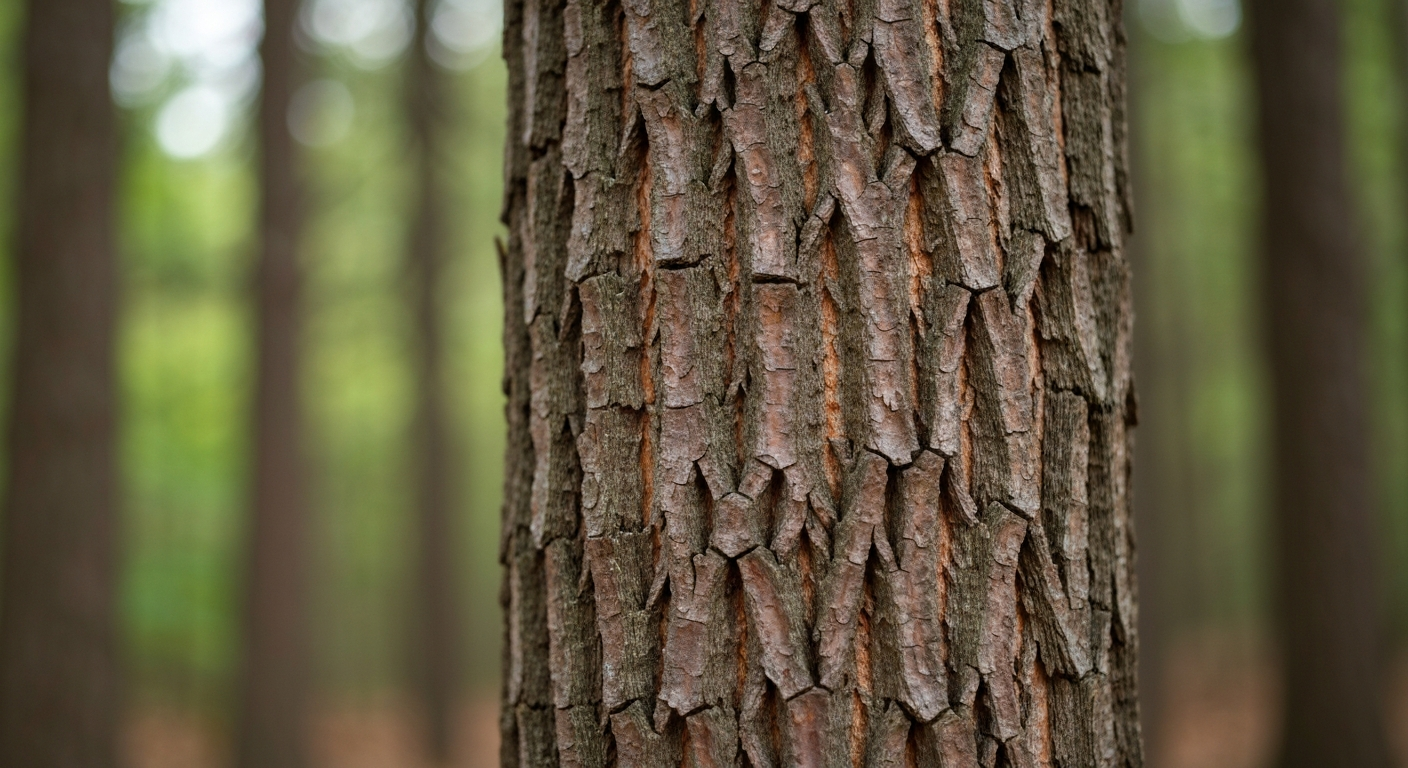
- Bark at chest height: Second-best when leaves are out of reach or fallen. Photograph a 12-inch patch of ridges, plates, or color pattern. See Tree Bark Identification App Guide.
- Buds and twigs (winter): Bud scale arrangement, color, and twig texture separate oaks, birches, and ashes in the dormant season.
- Whole tree: Useful for confirming size and form but rarely sufficient alone. Crown shape overlaps heavily between species.
When time is short, shoot the highest-priority feature available. A crisp leaf photo solves most backyard mysteries; add bark only when the app returns low confidence or multiple similar species.
Angles and framing for each feature
Leaf photos
Hold a single leaf at arm's length against an overcast sky or place it flat on a dark surface. The camera should be parallel to the leaf surface — not tilted — so margin teeth, lobes, and venation stay in focus across the entire blade. Include the petiole (leaf stalk) where it would attach to the twig; attachment angle matters for some species.
For compound leaves (hickory, ash, locust), photograph the entire compound structure on the twig rather than a single leaflet. Apps need leaflet count and rachis length. Pinch the twig gently and back up until the full leaf fits the frame.
Avoid photographing piles of fallen leaves unless you can confirm they came from the tree overhead. Ground litter mixes species from wind and neighbors.
Bark photos
Stand one to two feet from the trunk at chest height — the zone where bark pattern is most developed and least obscured by moss or lawn equipment damage. Fill at least half the frame with bark texture. Move around the trunk if one side is dirty or vine-covered; the opposite face often shows cleaner plates.
Do not press the lens against rough bark — shadow and distortion ruin pattern recognition. Slight side lighting from morning or afternoon sun emphasizes ridges; flat overcast light shows color differences between species like birch (white peeling) and beech (smooth gray).
Fruit, cones, and seed pod photos
Tree seed pod identification pictures work best when structures are mature. Green immature fruit lacks the shape apps expect. Pick or reach one cluster, hold it at arm's length, and let the camera focus on the pod — not your fingers.
Include scale context: a leaf from the same branch in the background helps the model verify species association. For hanging clusters (locust pods, catalpa beans), shoot from the side so individual pod silhouette is visible.
Whole-tree silhouette
Step back until the full crown fits with a little margin at the top. Shoot in portrait orientation for tall narrow trees (columnar arborvitae) and landscape for spreading oaks. Whole-tree photos help confirm habit — weeping, vase-shaped, conical — but treat them as supplementary, not primary.
Lighting for picture tree identification
Light quality determines whether fine detail survives compression and reaches the AI model.
Best: Overcast sky — diffuse, shadow-free illumination on both leaf surfaces and bark grooves.
Good: Open shade under a larger tree or building awning. Same diffusion without the gray sky.
Acceptable: Early morning or late afternoon sun at a low angle. Watch for deep shadows across half the leaf; rotate the subject or move to the shaded side of the trunk.
Avoid: Harsh midday sun directly overhead — blown highlights on pale bark and black shadows in bark furrows. Phone flash on leaves — venation disappears. Heavy HDR or beauty filters — edges soften and species traits blur.
If you must shoot in bright sun, use your body or hand to cast a soft shadow on the leaf. Two seconds of shade often doubles app confidence.
Distance, focus, and sharpness
Tree identification by photo fails most often from distance, not species difficulty. The subject should occupy at least 40 percent of the frame. Tap the screen to focus on the leaf margin or bark ridge before shooting. Hold steady for half a second — burst mode helps; pick the sharpest frame.
Digital zoom degrades detail. Walk closer instead of pinching the screen. For bark on large trunks, you are already close — for upper branches, use a reachable twig rather than zooming into the canopy.
Portrait mode and artificial background blur confuse identification models. Shoot in standard photo mode with natural depth of field. Sharp edges on teeth, lenticels, and bud scales are the data the app needs.
Multi-photo workflow for hard IDs
When a single image returns ambiguous results, run a structured second pass:
- Submit the best leaf photo. Note the top three suggestions.
- Photograph bark. Does the pattern match one of the candidates?
- Add fruit, flower, or bud if present. Eliminate species outside their fruiting season.
- Check geographic range — an app may suggest a western species you are unlikely to see in Ohio.
- Re-submit with a second photo in the same app session if supported.
This identify tree from photo workflow mirrors what field botanists do — accumulate evidence until one species fits all traits. Apps accelerate the comparison; you supply the evidence chain.
For a deeper look at how models weigh your images, read How AI Tree Identification Works.
Seasonal adjustments
Spring: Unfolding leaves are smaller and paler than summer forms. Photograph mature leaves lower on the tree when possible. Flower photos are excellent when available — magnolia, dogwood, and redbud blooms are distinctive.
Summer: Peak season for tree identification by photo. Full-size green leaves show true shape. Fruit begins forming on many species.
Fall: Color is beautiful but can mislead — red maple and sweetgum both turn red. Pair fall foliage with bark or persistent fruit. Seed pods are often fully mature in autumn.
Winter: Shift to bark, buds, and silhouette. Evergreens need needle or scale close-ups. Deciduous IDs rely on bud arrangement and bark; see Best Photo for Tree ID for winter priorities.
Using Tree Identifier for photo-based ID
Tree Identifier accepts leaf, bark, fruit, and whole-tree photos from your camera roll or live camera. The model returns ranked species with confidence scores.
Workflow tips:
- Start with your sharpest, closest leaf or pod photo.
- If confidence is below 70 percent, add bark before accepting a name.
- Save identified trees to your log with GPS for seasonal follow-up — winter bark confirms summer leaf IDs.
- Compare app results against common backyard trees in your region — familiarity catches occasional mislabels.
Tree id by photo is a skill that improves with repetition. After ten intentional IDs in your neighborhood, you will pre-visualize the frame before opening the app — margin against sky, bark patch at chest height, pod cluster in side light.
Common mistakes and fixes
Blur: Brace your elbows, breathe out before the shot, or rest the phone on a fence post for bark macros.
Wrong tree: Stand directly under the canopy and trace a branch to the ground before picking up a fallen leaf.
Cut-off margins: Zoom with your feet. The entire leaf edge must be visible — apps use margin shape heavily.
Single fall-color leaf: Add a green leaf from the same tree earlier in the year, or photograph bark for confirmation.
Cluttered background: A busy hedge behind your leaf creates false edge detection. Plain sky or pavement behind the subject is worth the two steps to find it.
Picture tree identification rewards deliberate photography more than expensive gear. A three-year-old iPhone with good light and proper framing outperforms a new phone shooting handheld into the sun.
Frequently asked questions
Can you identify a tree from a photo?
Yes — tree identification by photo is reliable when the image shows clear diagnostic features: a full leaf with margin and venation, bark texture at chest height, or distinctive fruit or seed pods. Single photos often narrow a tree to genus; two or three targeted photos usually reach species. AI tree ID apps trained on millions of images handle common North American and European species well when photos are sharp, well lit, and in focus.
What is the best angle for tree identification photos?
For leaves, shoot straight-on or slightly from above so the full blade fills the frame against sky or a plain background. For bark, stand back one to two feet and fill the frame with a patch of ridges or plates — avoid extreme close-ups that lose pattern context. For whole-tree silhouette, step back until the crown fits in frame without cutting off the top. A 45-degree angle on fruit clusters or seed pods shows shape better than shooting from directly below.
How do you identify a tree by image with an app?
Open a tree ID app, photograph the most distinctive feature available — usually a leaf, bark patch, or fruit — and submit. If confidence is low, add a second photo of a different trait: opposite vs alternate twig arrangement, bark, or seed pods. Tree Identifier accepts multiple photos per session. Compare the top match against range maps and seasonal cues before accepting a species name.
What lighting works best for picture tree identification?
Soft, even daylight is ideal — overcast skies eliminate harsh shadows on leaf margins. Avoid direct midday sun that blows out highlights on pale bark. Morning or late afternoon side light can reveal bark texture but may cast shadows across leaves. If you must shoot in bright sun, use your hand to shade the subject or shoot on the shaded side of the tree. Never use flash on leaves — it washes out venation.
Can you identify trees from seed pod pictures?
Yes — tree seed pod identification pictures are among the strongest single-photo IDs when pods are mature and distinctive. Oak acorns, maple samaras, sweetgum balls, sycamore seed balls, and catalpa pods each have unique shapes apps recognize. Photograph one pod or cluster filling the frame, with a leaf or twig in the same shot for context. Immature green pods are harder because shape has not fully developed.
How many photos do you need to identify a tree?
One excellent photo often suffices for common backyard trees. For harder IDs, use two to three photos: leaf, bark, and fruit or bud. Whole-tree silhouette alone is weakest because many species share similar crown shapes. The identify tree from photo workflow that professionals use is leaf plus bark plus one reproductive structure — flowers, fruit, or cones.
What mistakes ruin tree identification by photo?
Blur from camera shake, shooting too far away so detail is lost, photographing only fall-colored leaves without green-season reference, mixing leaves from different trees on the ground, and cutting off leaf margins or petiole attachment points. Also avoid heavy filters and portrait-mode blur — AI models need sharp edges. Photograph the tree you are standing under, not a neighbor's similar-looking species across the yard.
Try Tree Identifier — free on iPhone
Photograph a leaf, bark patch, or seed pod and get a species match in seconds.
Download on the App Store